
Wrapped bead berry
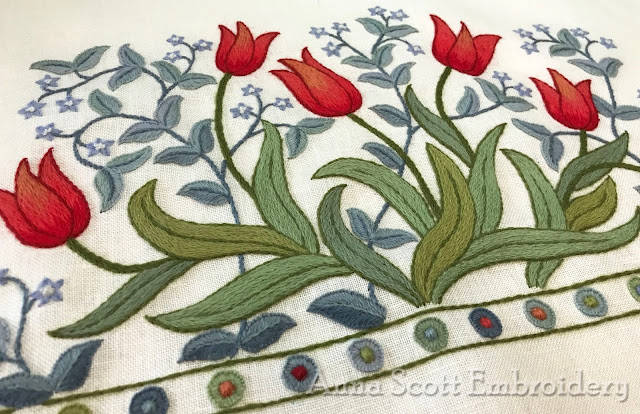
Berries like those in Happy Easter Brother Rabbit are super effective if you want to add a bit of dimension to your project. They are super easy to make - once the needle is threaded...
All you need is:
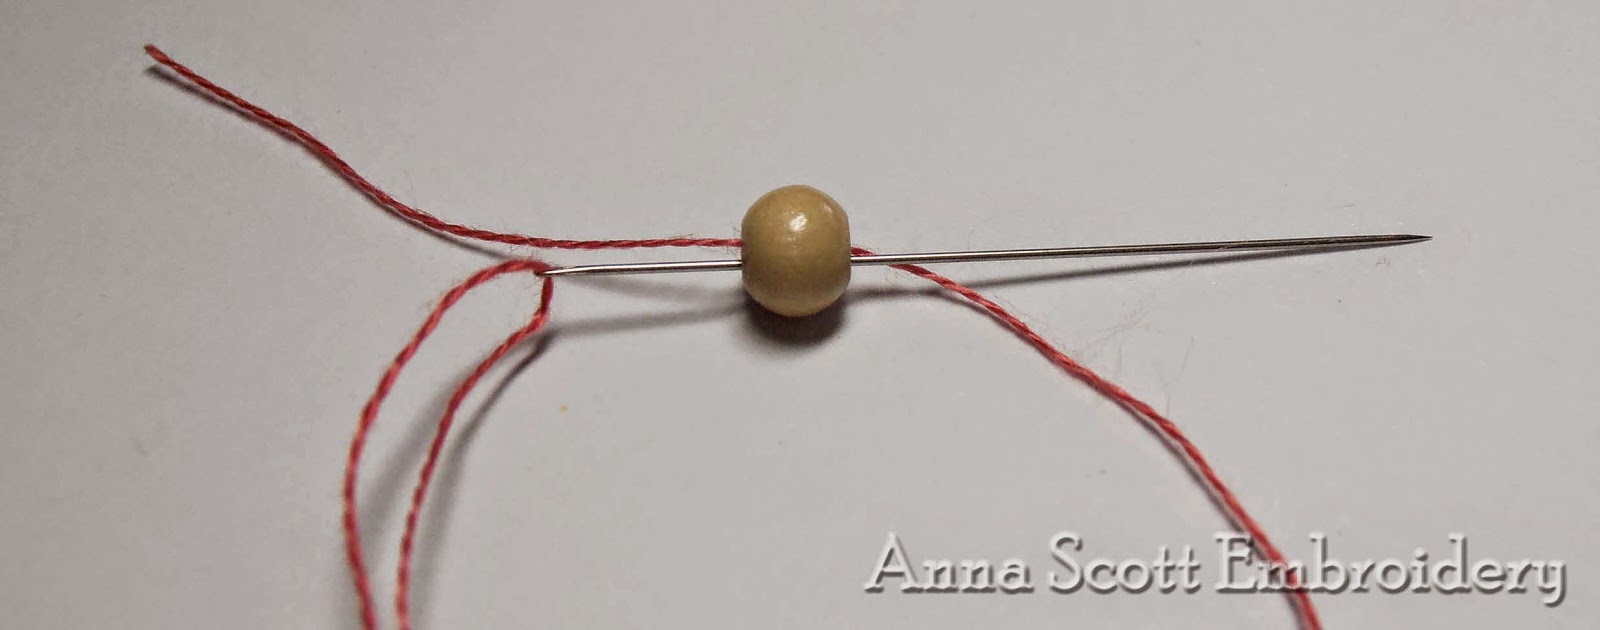
1. Take the thread through the bead leaving a tail about 8cm (3") long.
Slide the needle through the bead again in the same direction.

2. Working systematically around the bead, continue to take wrap the thread around it. As the hole fills with thread this will become a little more difficult.

3. Keep wrapping until the bead is completely covered.

4. To finish, slide a tiny bead onto the thread, then take the needle back through the wrapped bead in the opposite direction.

One completed berry. I think you will agree that threading that needle was by far the hardest part. Have fun.
All you need is:
- 1 large bead - I use 6mm (1/4") wooden beads, but you can also use pebble size glass beads. The important thing is that the hole is large.
- Stranded silk or cotton
- no. 10 milliner's needle also sold as straw needles
Cut an 80cm (32") length of thread and ease out a single strand. Threading into the fine needle IS tricky and it is one of the only times I will moisten the end of my thread. If you find it way to tricky, try a no.10 crewel/embroidery needle however, if so you will need a thimble and possible pliers to complete the berry.

1. Take the thread through the bead leaving a tail about 8cm (3") long.
Slide the needle through the bead again in the same direction.

2. Working systematically around the bead, continue to take wrap the thread around it. As the hole fills with thread this will become a little more difficult.

3. Keep wrapping until the bead is completely covered.

4. To finish, slide a tiny bead onto the thread, then take the needle back through the wrapped bead in the opposite direction.

One completed berry. I think you will agree that threading that needle was by far the hardest part. Have fun.

Congratulations on a beautiful piece. It has come out wonderfully. Once again thank you for sharing your thought processes as you have developed this charming picture. :)
ReplyDeleteThank you, thank you and thank you!
ReplyDeleteHugs!
Egléa
Your work is incredibly exciting and your blog is great.
ReplyDeleteOoooh! Terrific tutorial! Thank you :)
ReplyDeleteThank you!
ReplyDeleteSuch a good idea and good tutorial for the "bead berry". Our sewing group here in Bathampton, Bath are making a harvest hanging - all 3D handmade flowers etc. and we made some rosehips by your method yesterday. We used oval beads and orangey/red thread. So a big thank you for the instructions.
ReplyDeleteHow fabulous! - I'd love to see your hanging.
Delete